|
|
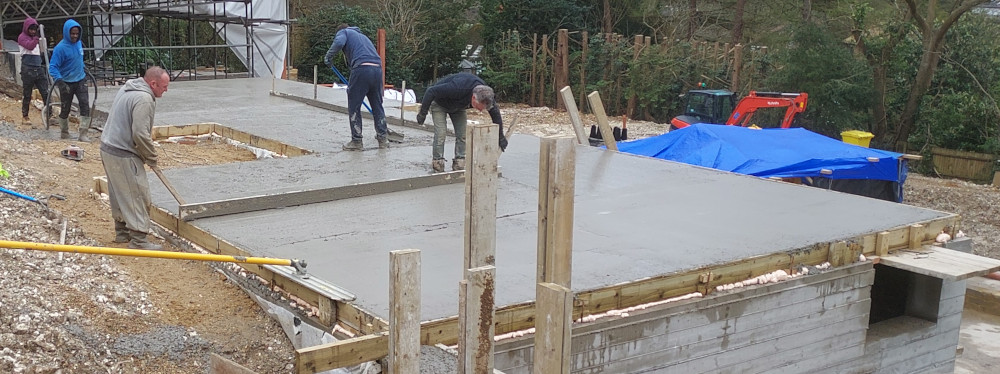
Waterproof basement roof podium deck
Continuing your waterproof concrete over your basement means a completely waterproof box.
Particularly good between a patio and basement beneath, a garage floor, sometimes a kitchen floor.
The 'lid' becomes part of your upstand.
-
A roof is open to the weather and is weatherproof.
-
A deck is covered in soil and grass.
-
A podium is raised. Perhaps a roof but with a balcony on it.
I build them all exactly the same, with the exception of an upstand if one side will be an outside wall of the house.
|
|
|
ONE.
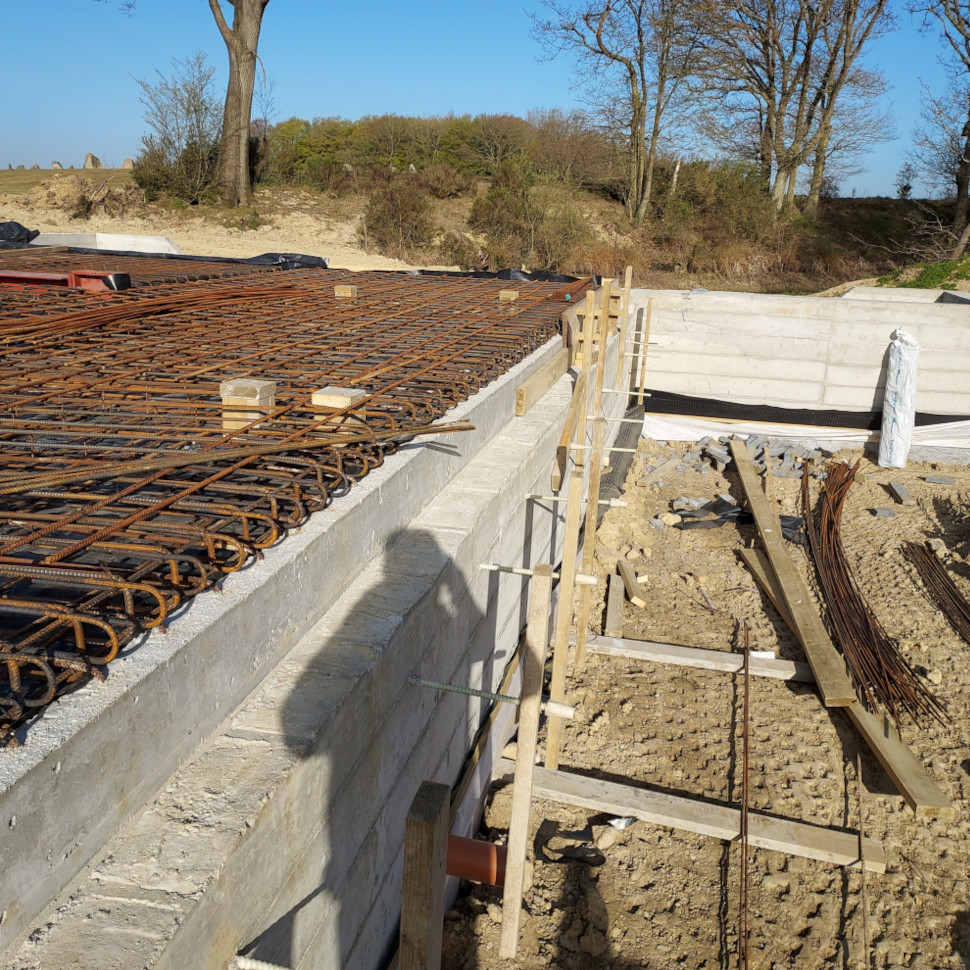
You will need to form the edge.
If you built your wall using my FRP threaded rods, don't cut them off.
With threaded rods already concreted into your wall. the edge shutter will be simple.
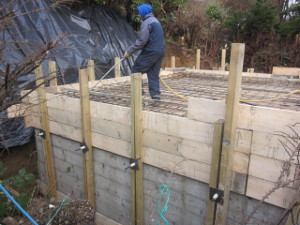
There may be brickwork. You might need a ledge below outside ground level.
Two.
To support the roof concrete you need a superstructure underneath.
This is my method.
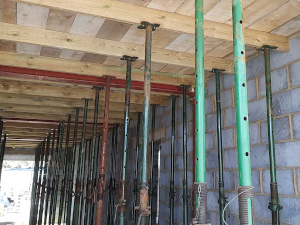
My clients have 6x2s as main beams then their formwork timber on its side, which they already have from their wall formwork and it all survives many uses.
|
|
This is what they use on big sites.
The very big firms own their own kit.
Regular teams hire it.
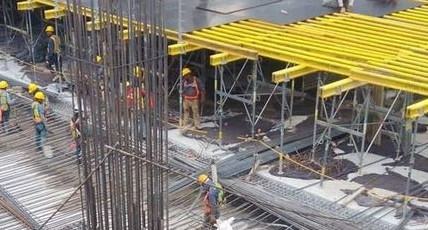
They have the big beams underneath, then 6x2 beams on 400mm centres, then fair faced ply which is ruined after about 3 uses, because the edges get ruined so they trim off 100mm all round to use it twice, then 100mm all round to use it a third time.
|
|
I have added new images 4th April 2024.
1. At a corner, fix a length of 2x2, 2m to 3m long, to your wall so that it is the thickness of a board plus the thickness of a joist below underside of concrete.
2. At the same corner in the other direction, fix another piece of 2x2, 2m to 3m long, to your wall so that it is the thickness of a board only below underside of concrete.
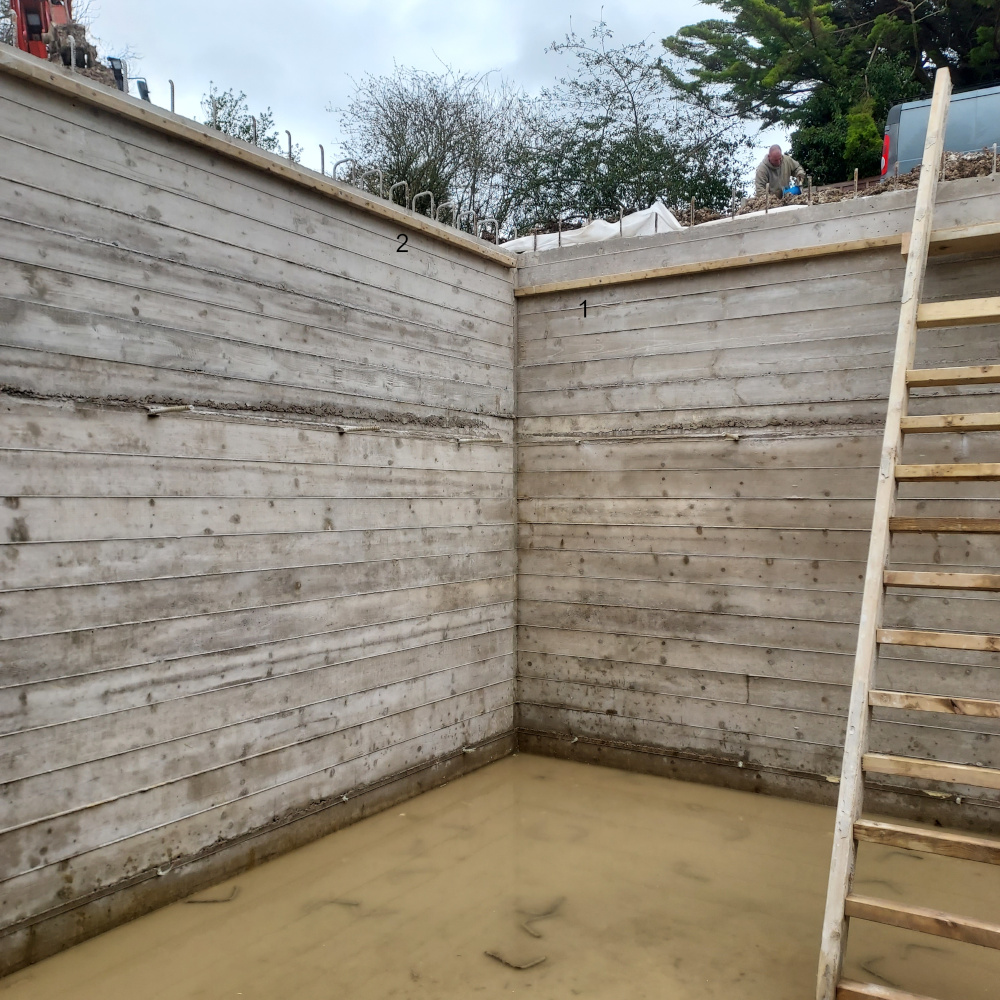
3. Sit a 6x2 joist on the lower 2x2 close to the corner and on a prop at the other end.
Someone needs to hold the prop.
Someone else needs to put a screw up through the 2x2 into the bottom of the joist.
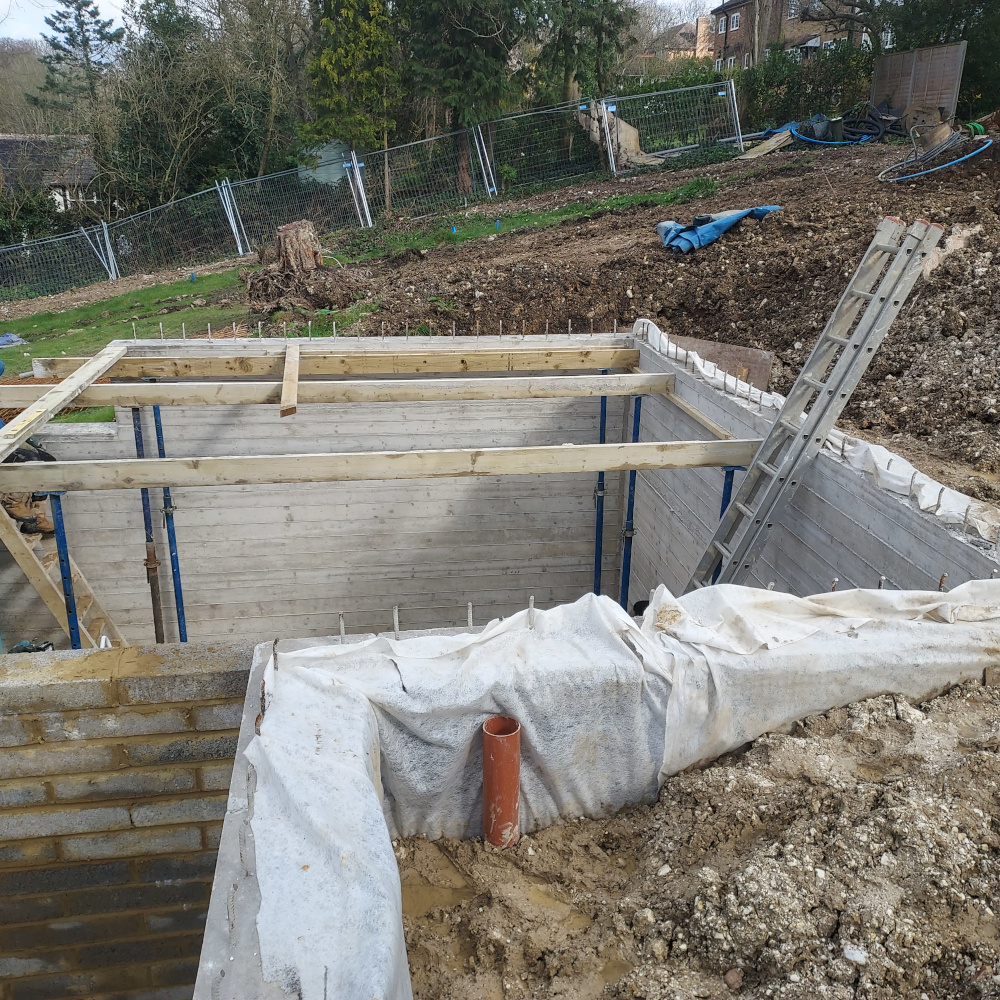
4. About 1.6m from the first joist, fix another to the 2x2 and use another prop for the other end. Note. This joist might be temporary.
Both joists should be parallel.
The same person now needs to hold 2 props.
5. Put props under the ends of the joists close to where they are screwed to 2x2.
Someone needs to put a screw through every prop as they are erected into the joist above. See the photo lower down.
6. Put a board in position across both joists against the wall with the lower 2x2.
Fix it with screws at an angle to both joists from underneath.
7. Put another board about 2m away and parallel and fix through both joists from underneath.
The person who was holding two props can now let go.
8. Put up a third joist parallel to the other two in its permanent position bearing in mind 6x2 boards would normally be supported on 1100mm centres. When this is fixed to both the boards above, you can move the second joist to its permanent position.
9. Fill in any gaps with more joists to the end of the boards which require a joist close, 50mm to 100mm, to the board ends.
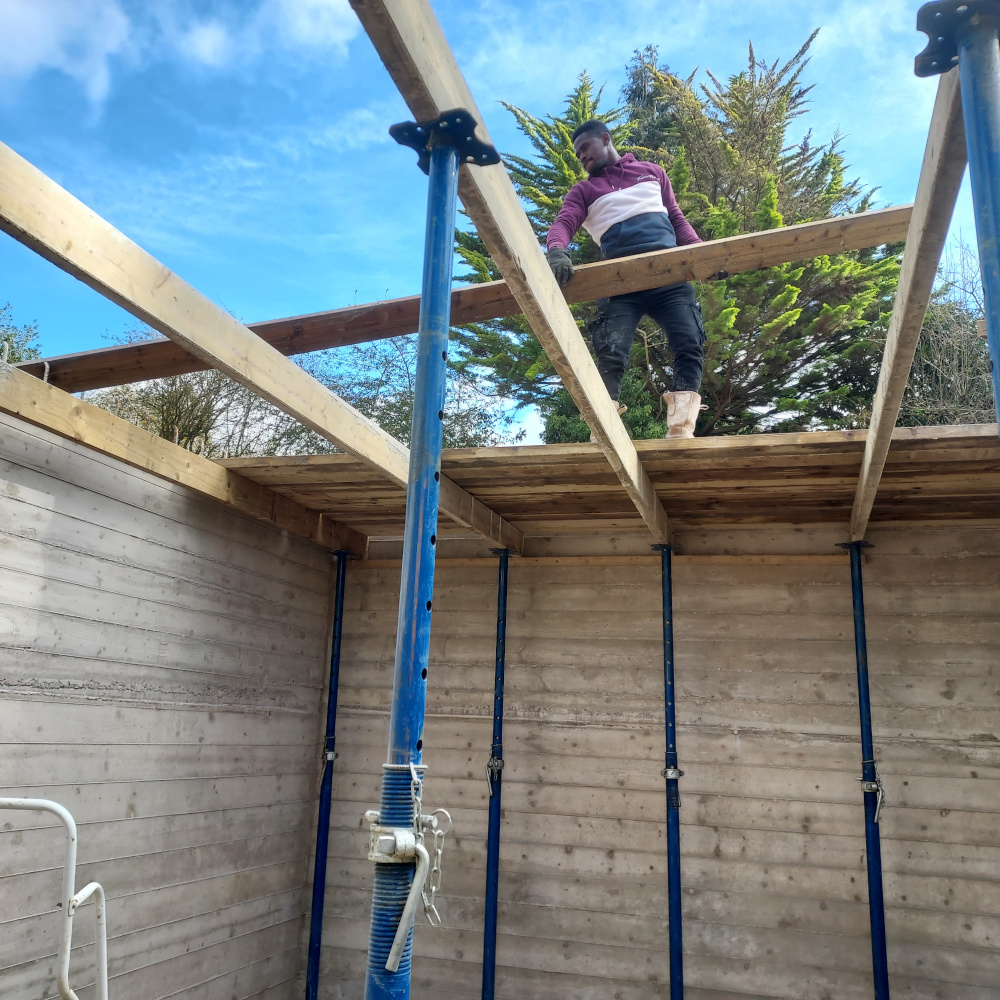
Always put a screw through the top plate into a timber to prevent an Acrow falling over.
10. Continue boarding out from the edge you started.
Underneath, screw through at least one joist into every board.
I would screw along a diagonal line. The next board to the next joist.
11. Add props so that their spacing is appropriate to your joist size. 6x2 might have props every 1100mm.
Keep going. You will soon move the second board you fixed into its permanent position. Every joist should have at least one screw before you move it.
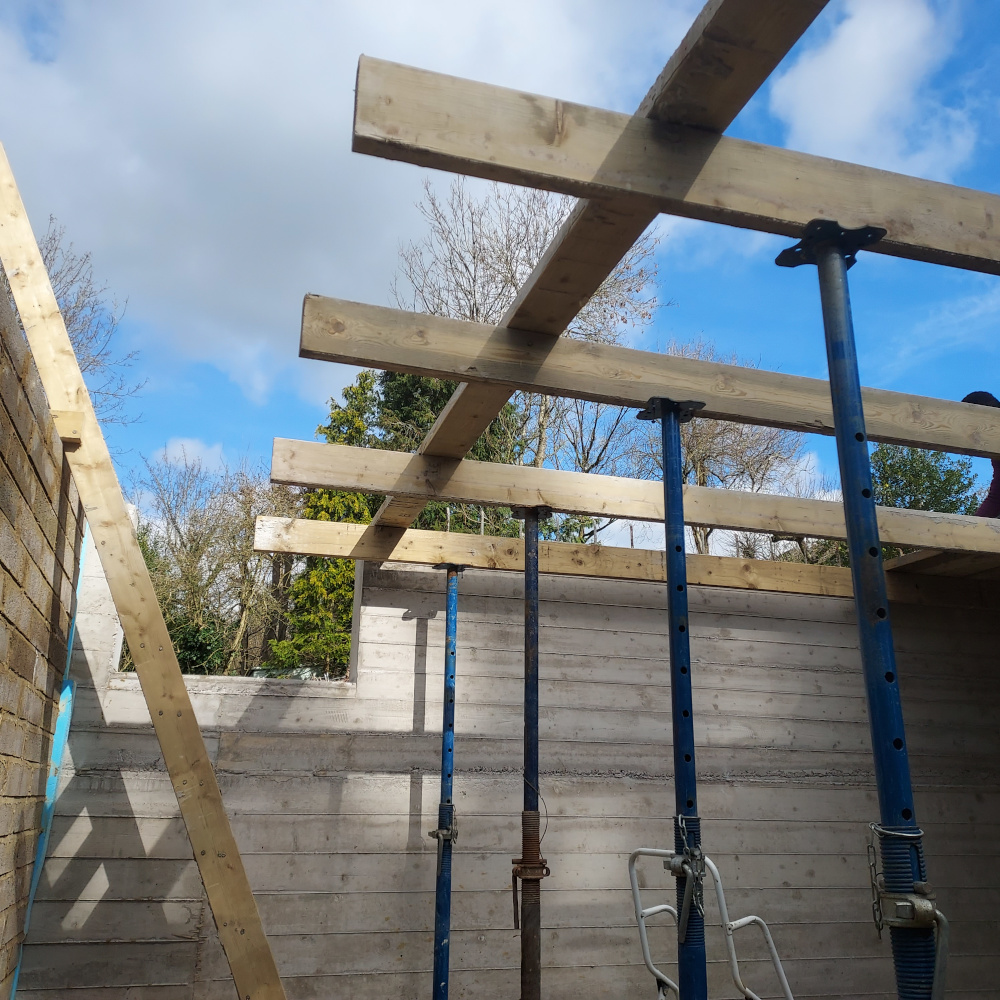
keep going till you finish.
Continue by overlapping the next joist a few inches over an Acrow head, and screwing two together.
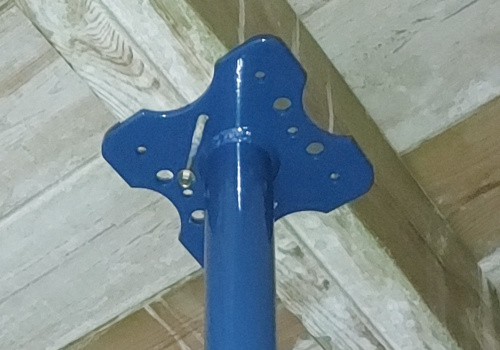
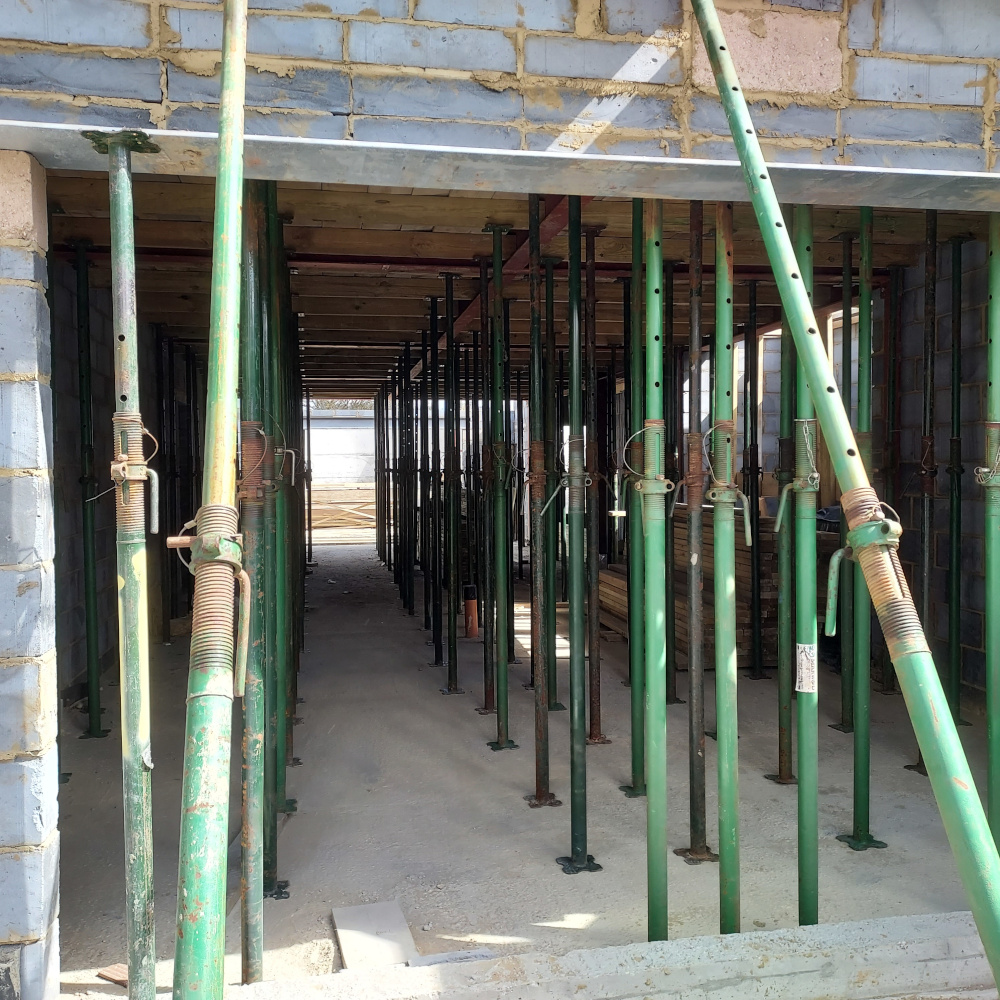
Fill up the space between your basement walls. When full, it should feel rock solid.
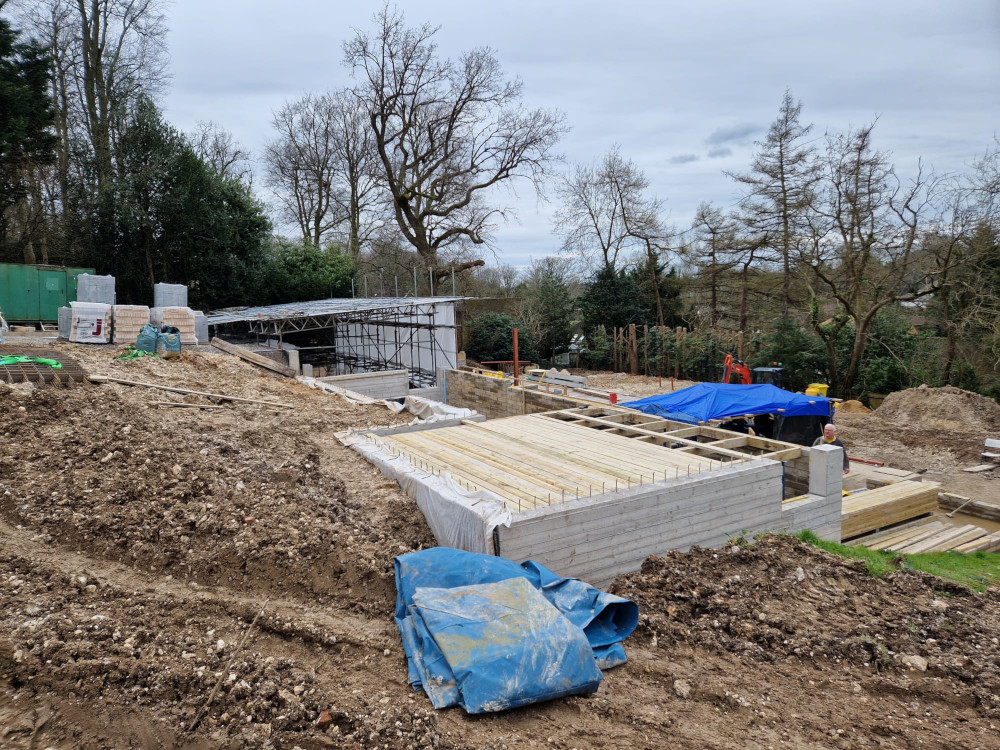
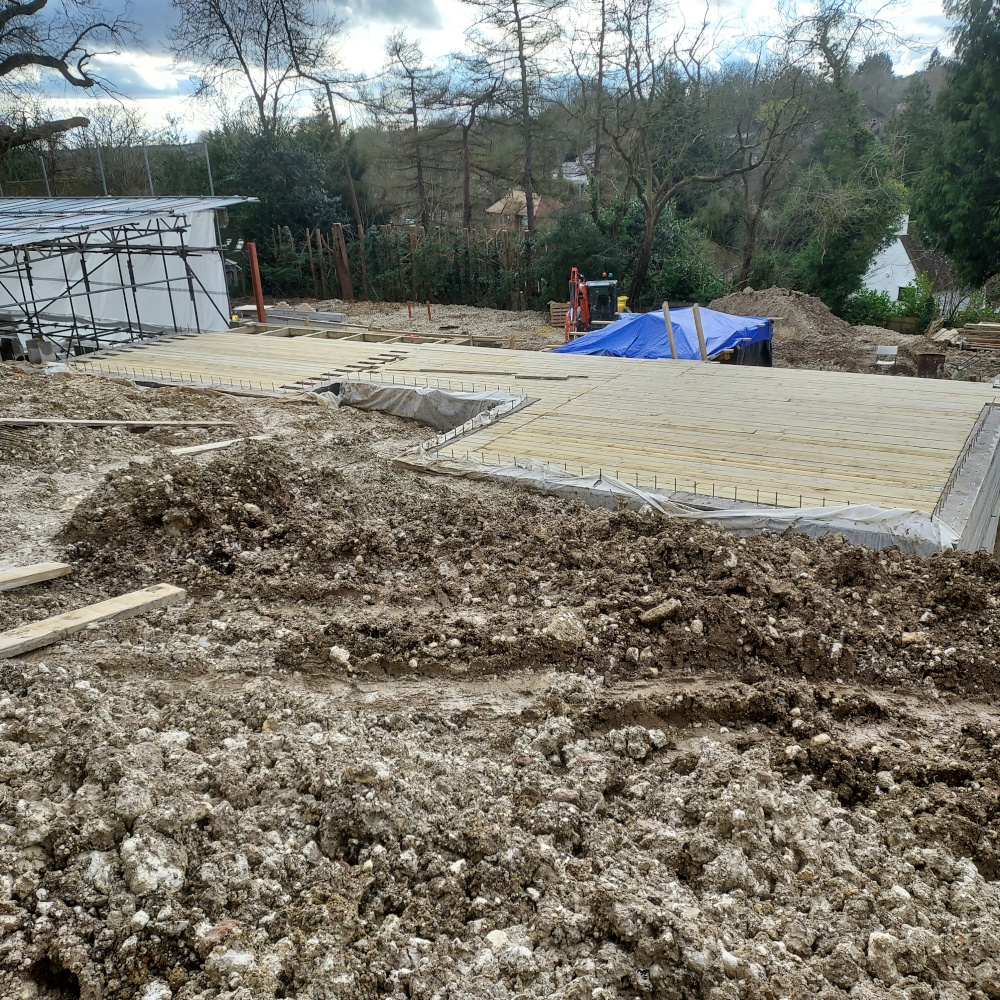
If you don't have a wall to finish against you will need some serious propping to stop the whole lot moving sideways and falling over when you are all stood on top pouring and vibrating concrete.
Which is why you see Acrows at an angle here. We had about 10 Acrow props at each end.
THREE.
Final levelling.
The deck props are best set to their final level underneath with a laser level, staff or stick and laser detector eye.
Set the laser eye to the correct point on your stick and raise or lower every Acrow head to match.

The polythene stops the timbers sticking to the concrete, otherwise they would need painting with release oil and could still be difficult to remove where concrete got in any gaps.
Back to the Basement Building Questions Answered menu.
|
Back to the Basement Building Construction Manual menu.
|
For a fixed fee of £199 I will answer all your questions by email. More details here.

|
|
|
|
